A Kubernetes cluster in minutes with SUSE CaaS
Posted on August 15, 2018

After attending SUSE Experts Day in the Aviva Stadium in Dublin a few months ago, I was excited to try out the new the SUSE CaaS platform that they had all been talking about.
CaaS stands for Container-as-a-Service and it is SUSE's offering of enterprise class Kubernetes. The main benefit of SUSE CaaS is that it is now very quick and easy to get a full Kubernetes cluster up and running. Clusters can also be scaled up very easily with SUSE CaaS.
The SUSE CaaS Platform is not just a plain old Kubernetes cluster. SUSE have trimmed down their SUSE Enterprise Linux OS and created a new operating system called SUSE MicroOS which is more suitable for containerized deployments. An image registry is also included with the CaaS Platform so that container images can be secured and controlled. The deployment of the SUSE CaaS Platform is all managed through a SUSE service called Velum which you will see later.
This new platform is very versatile and can be deployed in a number of different ways depending on what you require. There is an ISO image available for standard server installations but there is also VMWare and Openstack images released by SUSE. To check out SUSE CaaS I decided to just deploy a simple enough three node cluster (1 master & 2 worker nodes). From looking at the Velum tool, it looks like it would be very easy to scale this up if I had the resources available. Here is how I got my cluster up and running:
First you have to get your admin node up and running.
Boot the admin node with the SUSE CaaS ISO (SUSE-CaaS-Platform-3.0-DVD-x86_64-GM-DVD1.iso) and select Installation from the boot menu

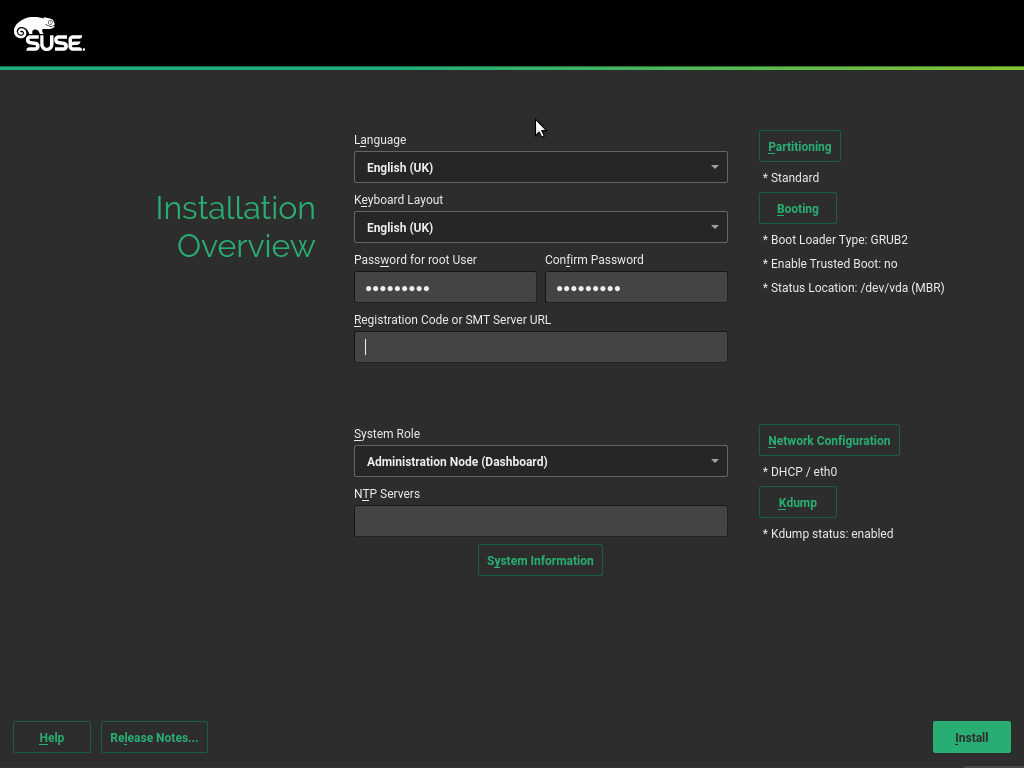
The install procedure is pretty much a trimmed down version of a standard SLES server install. Enter your language/keyboard preferences, root password and your registration code. Once the details have been added click install.
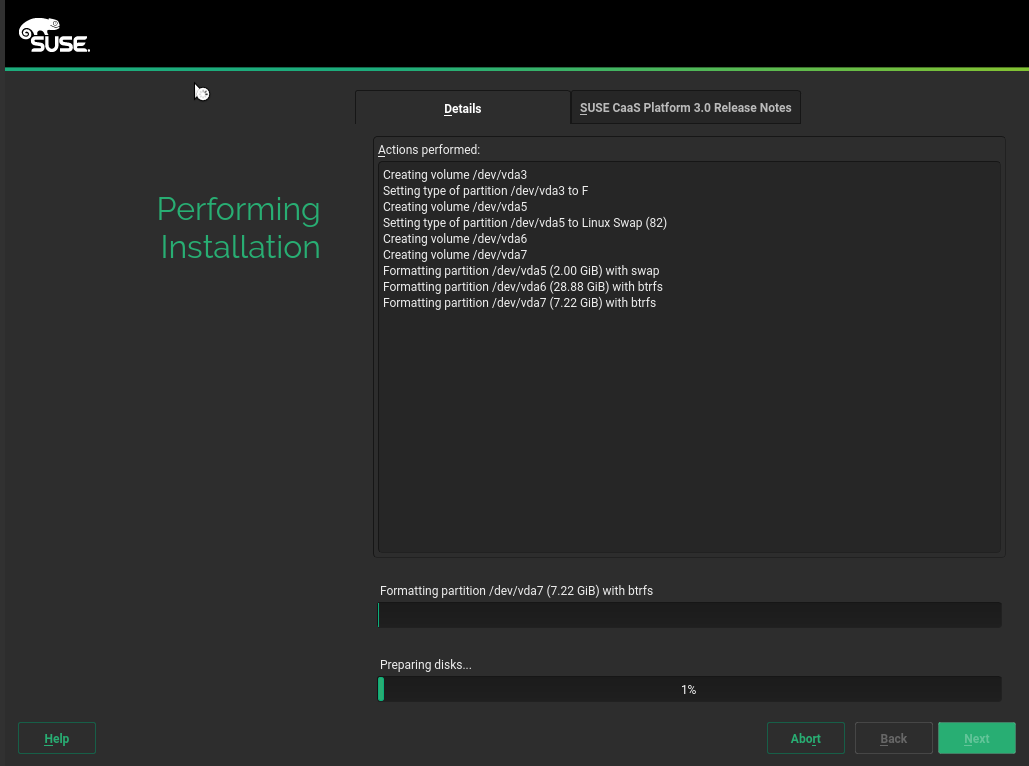
The install will kick off once you've agreed to the necessary license terms
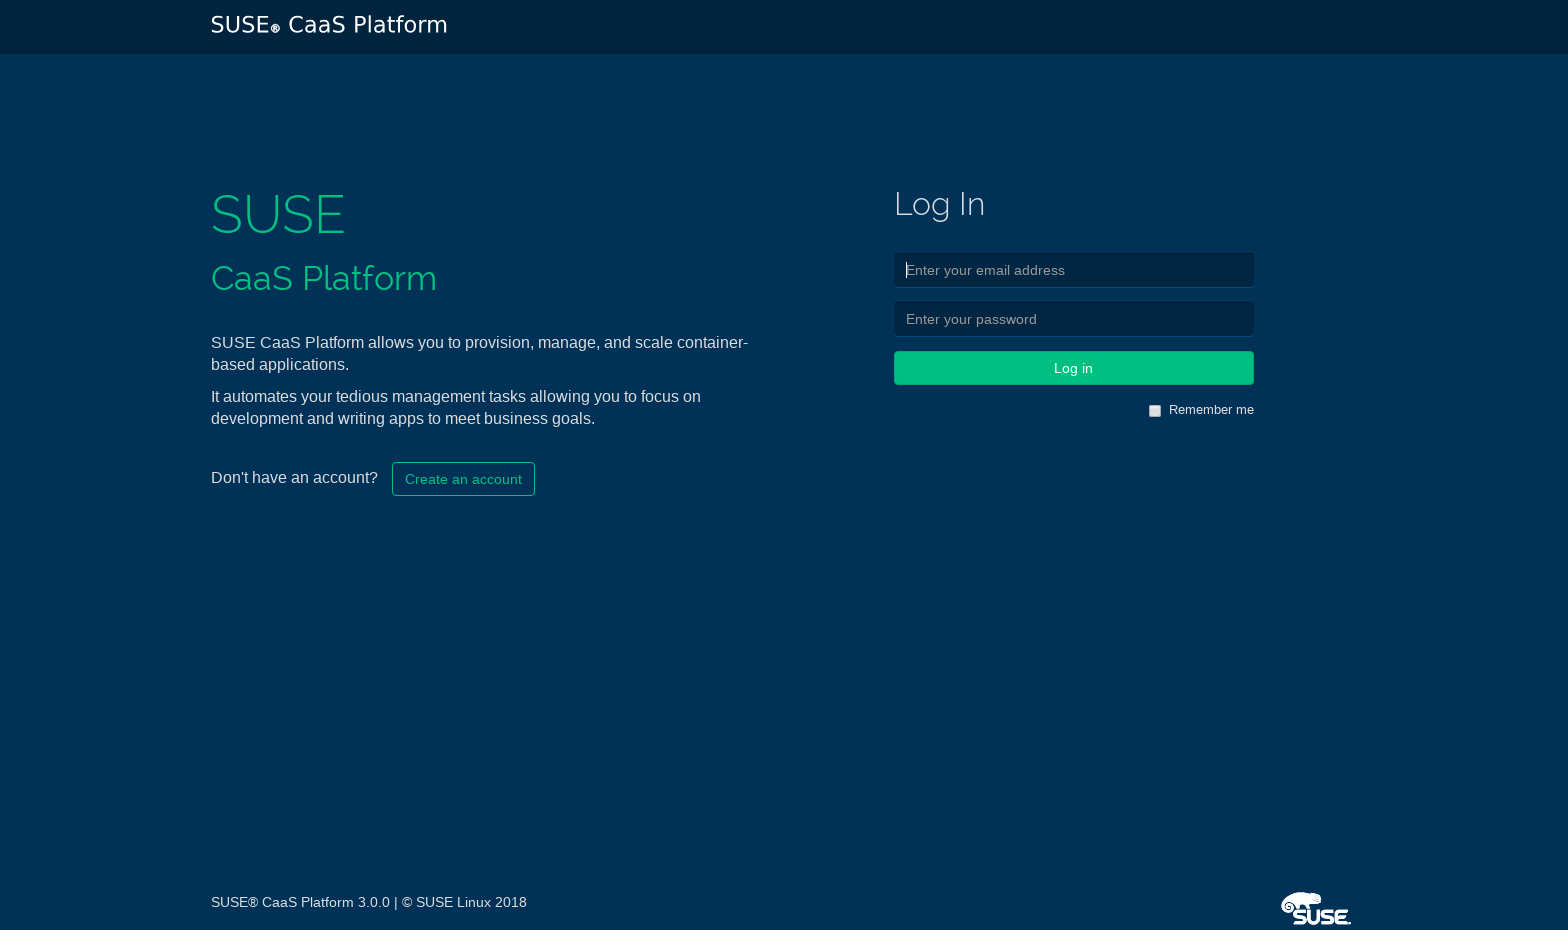
After the admin node has been successfully installed, you should be able to reach the Velum interface in your browser by entering the IP of the admin server. To continue you have to create a user account for Velum.
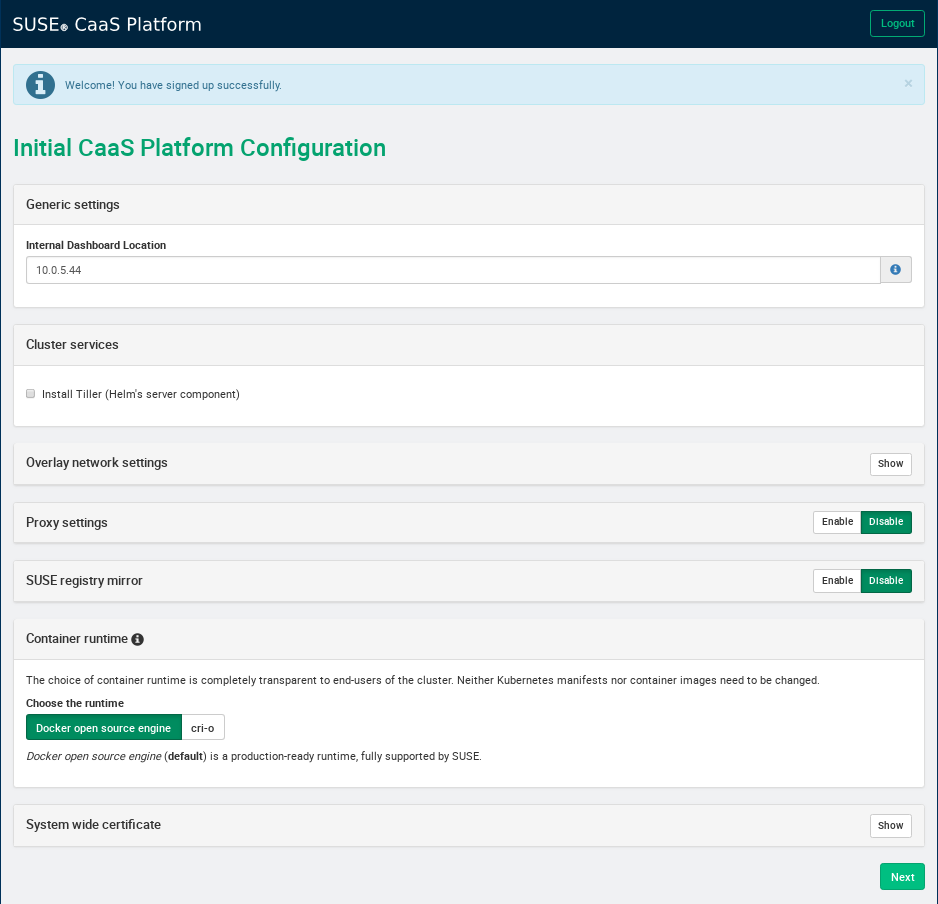
You will see the available options for configuring your SUSE CaaS cluster once you have a user created in Velum. Most of the default values should be good to get you up and running. Enter the IP address of your admin server that is reachable by the rest of your cluster as the Internal Dashboard Location. For this deployment I went with Docker as the container runtime - I am going to try out cri-o next time as I haven't had a chance to play with that yet.
Once the initial configuration is done, you can go ahead and install your cluster nodes. This process is pretty much the same as the admin node but you provide the installer with the cluster node role and the internal IP of the admin node. The install of these nodes only takes a few minutes - I didn't even have time to grab a coffee. There is an option to PXE boot the cluster nodes and install them automatically using AutoYast which makes it even easier.

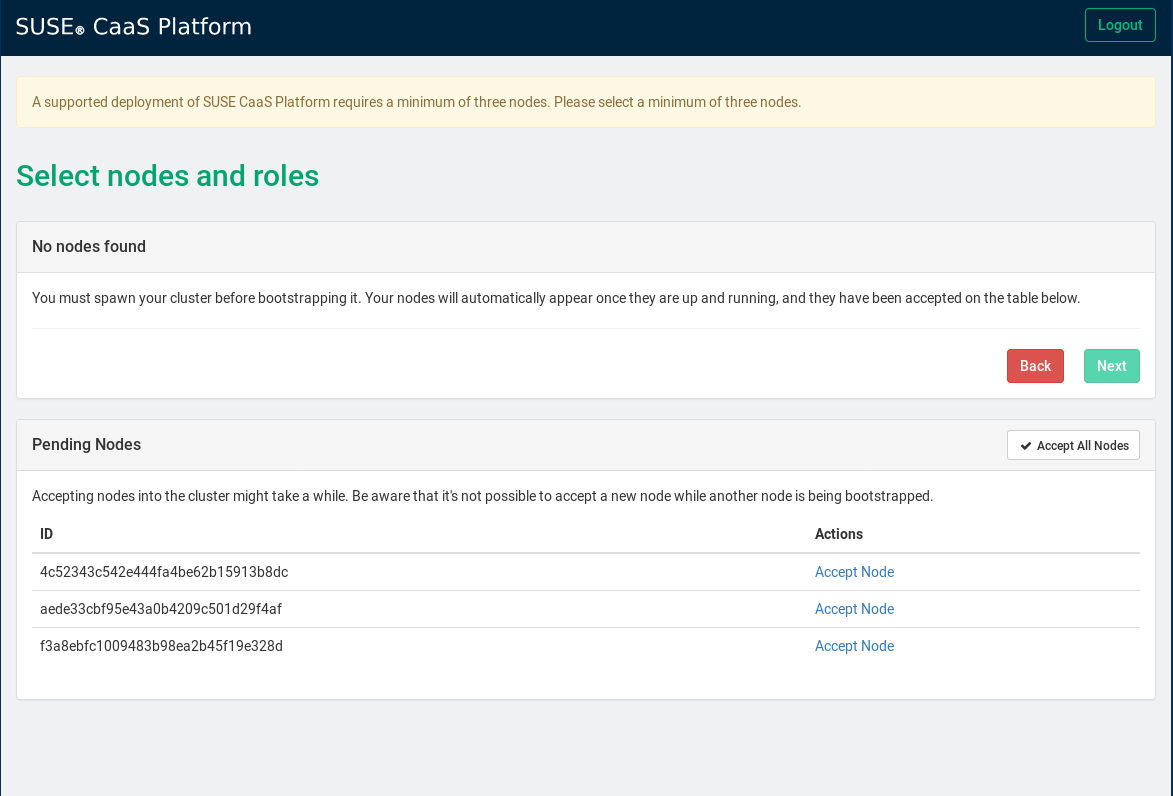
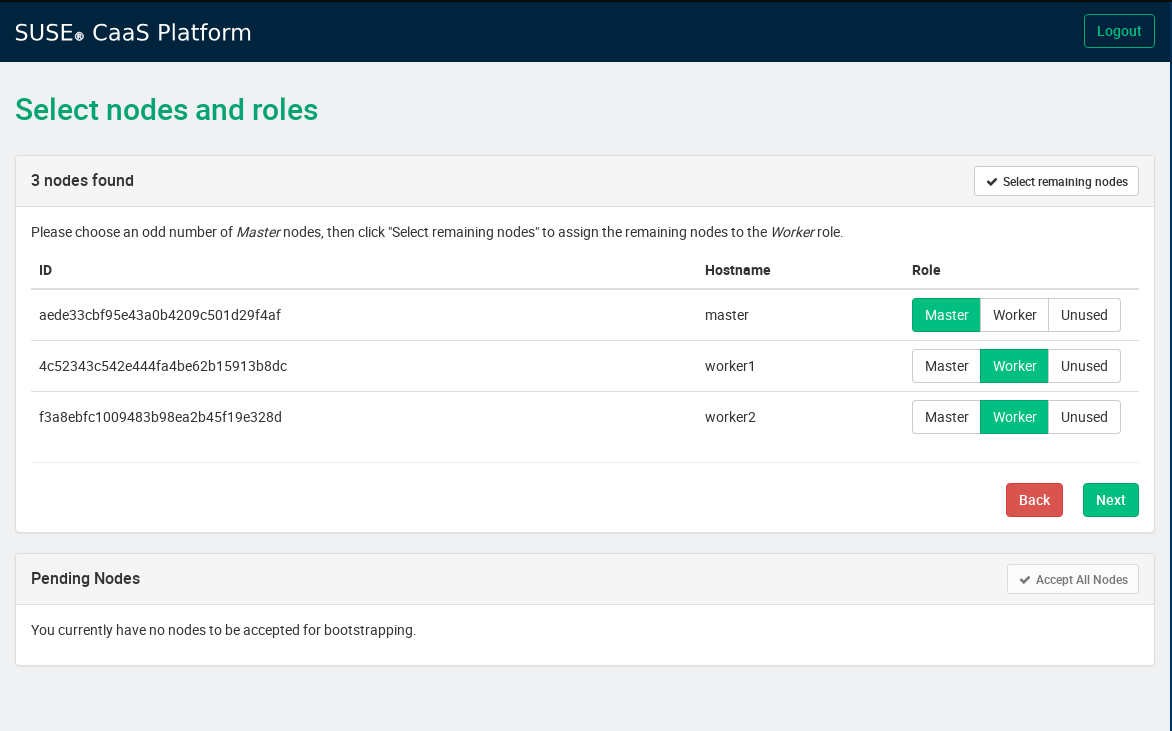
After you have all your cluster nodes installed, you should see them appearing in Velum as pending nodes. Accept the pending nodes and assign the relevant roles to the cluster nodes - this is where I find it handy to have meaningful hostnames for the nodes
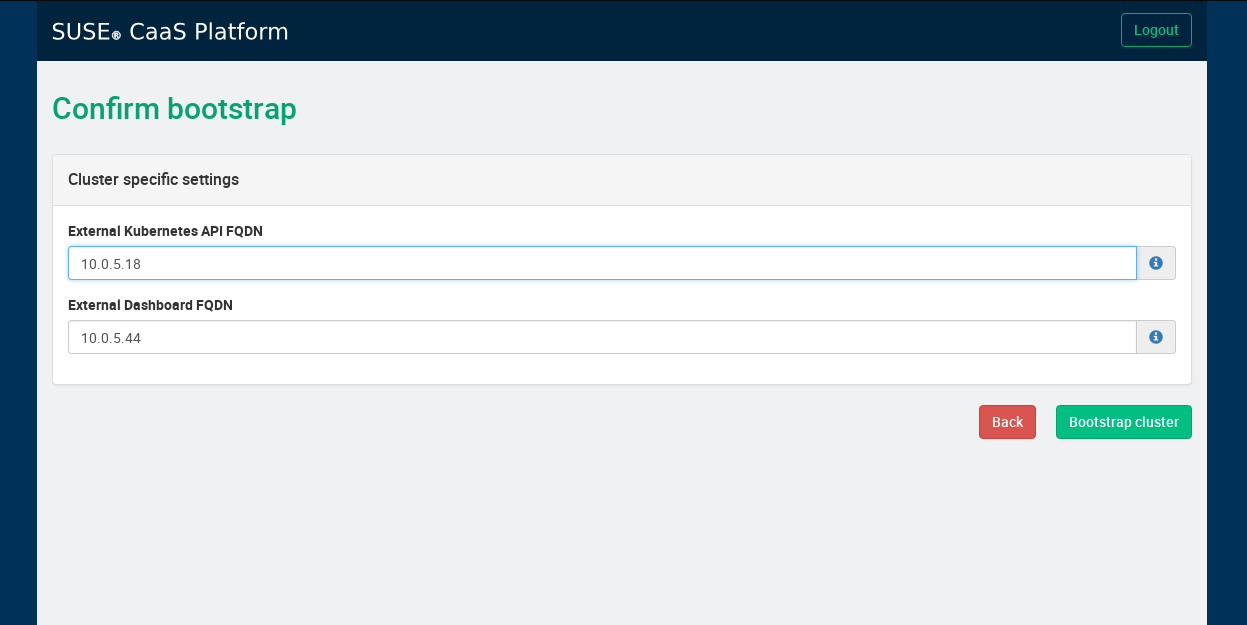
Enter the IP addresses used to access both the Kubernetes Dashboard and Velum from outside of the cluster - these really should be FQDNs but you can get away with IP addresses for test environments
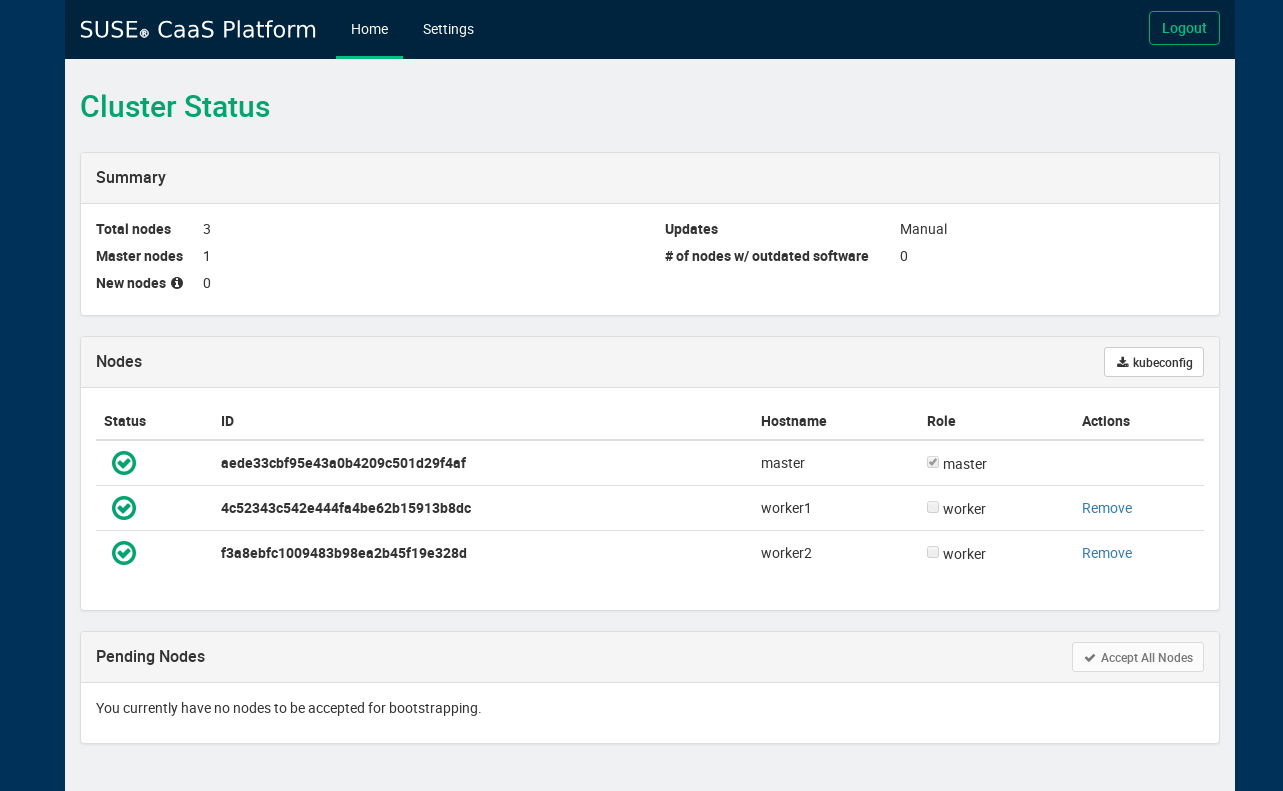
SaltStack is used for boot strapping the cluster nodes. When the cluster is ready the nodes will appear as below and you will be able to download the kubeconfig for your new Kubernetes cluster. Copy the kubeconfig to ~/.kube/config on your machine and you are good to go.
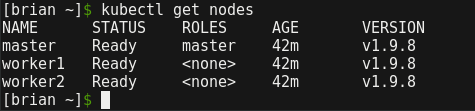
Doing some quick 'kubectl get's can tell you a lot about the cluster that you have just deployed. We can see that SUSE went with Kubernetes v1.9.8 which is a couple versions back but not too bad at all.
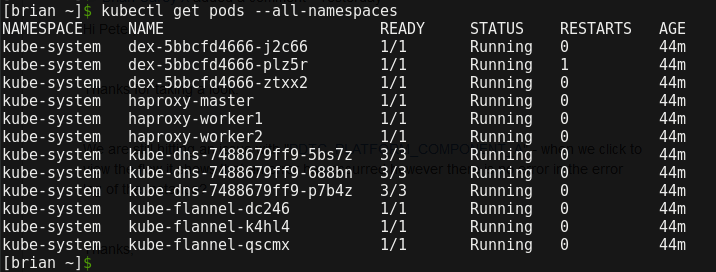
The default set of pods deployed can be seen by running 'kubectl get pods --all-namespaces'. Here we can see that they went with flannel for the CNI (Container Network Interface). Authentication within the cluster is handled by the dex pods.
Overall I was impressed with how easy it was to get a Kubernetes cluster up and running with SUSE CaaS. I'd say you'd start to see the real value of CaaS if you had to deploy more complicated clusters with a large number of workers and a multi-master setup. I think SUSE supports clusters of up to 1500 nodes which leaves a lot of room for scaling. This is just a brief overview of how to get up and running with SUSE CaaS, if you are thinking of doing this yourself I'd recommend you check out the SUSE docs.